Table of Contents

A digital multimeter is an electronic test tool to measure electrical values resistance, current and voltage. Depending on their uses and features, electricians and technicians use a model according to their needs and requirements.
The basic features and components of a multimeter include the following:
Display: Measurement readouts are displayed and can be viewed.
Buttons: These are used to select various functions.
Dial: This is used for choosing measurement values.
Input Jacks: Test leads are inserted via input jacks.
How Can one use a Multimeter to Measure the Voltage of Live Wire?
Working with electricity or wires is highly dangerous, especially if inexperienced. If wires are exposed, ensure they do not come into contact or cut off the power from the main before testing the voltage.
The main purpose of testing the voltage of live wires is to check the current flow and the presence of voltage. In such a way, one can check if the appliance is receiving proper voltage.
Before checking a wire’s voltage, check with a voltage tester if the wires are live. You can also use the voltage tester to reach the metal terminals of exposed wires. One thing to remember is that a voltage tester does not display the exact amount but only tells the presence of voltage by producing a chirp or buzz.
Set Up the Multimeter
- Before using a multimeter, one must set the device properly.
- First, rotate the dial to a section marked V with a symbol (~) next to it – in that section; many numbers display the voltage range.
- Because the voltage in the wires is greater than anticipated, turn the dial to the lowest setting.
- In the UK, the voltage is 230V, so you must set the multimeter next to it.
- Setting the right voltage increases measuring accuracy and resolution.
- One thing to remember is that not all multimeters have this feature; if yours does not, it is probably an auto-ranging multimeter.
- In such an event, set the dial to V, which will automatically set the right voltage range.
The multimeter’s sensors should now be connected. The red probe is inserted into the slot designated V, while the black probe is inserted into the slot designated COM.
Electrical Safety Certificates
24Hr Emergency Electricians
Our team of emergency response electricians are on call 24/7
Fair Price
Our pricing structure is transparent and affordable. We offering great value for money
Testing Voltage for the Socket
- Testing the voltage if the wires were connected to a plug would be easier.
- Place one of the two leads in the socket’s left slot and the other in the right one. Now check the reading on the multimeter.
- If the voltage shows 230V, the electricity flow is all right.
- A multimeter can be used to check and measure the exact voltage of a neutral wire. The left end of one multimeter is connected to the ground by the other.
- If the socket is wired correctly, the metre should read zero or close to zero. On the other hand, if a big number is displayed, there must be a wiring problem.
Testing Voltage for a Switch
- To access the exposed terminals of a switch and examine its voltage, unscrew it.
- Check that the switch is turned on, then connect one multimeter lead/terminal to the live wire and the other to the multimeter.
- Next, check the voltage reading while keeping both wires in place.
- Like the plug socket, make sure the multimeter reads 230V.
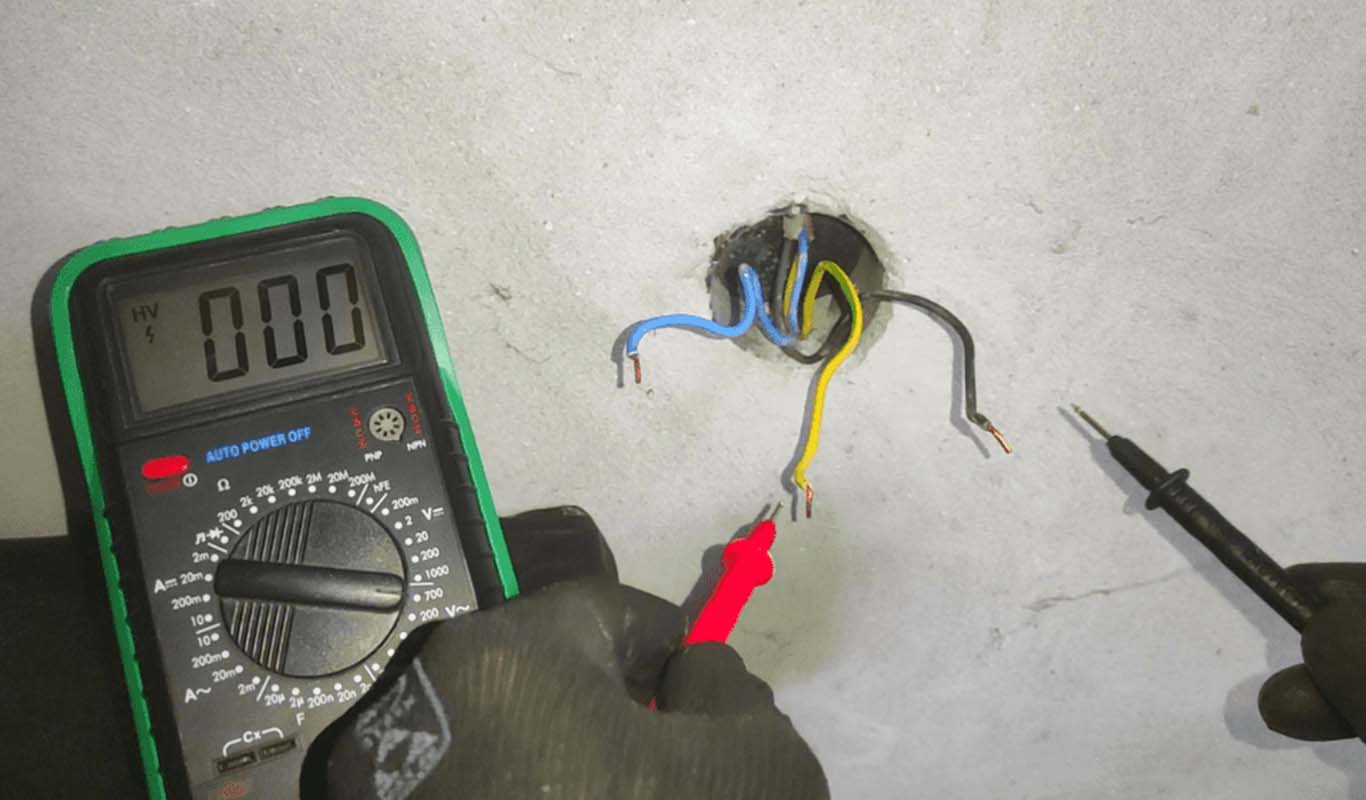
For Exposed Wires
- Though dangerous, one can check the voltage of open lines.
- Touch one of the multimeters leads to a metal object which will work as a ground reference, and touch the other with the exposed wire.
- Check the wire’s voltage; mostly from 3 wire circuits, only a single live wire registers a voltage of 230V.
- The voltage on the earth and neutral wires is 0 or almost zero, and if you don’t have a metal object nearby, measure the voltage variations across the wires.
- One can check the neutral and live wires to test the voltage of the live wires or measure neutral or ground to test the voltage of a neutral wire.
